
Introduction
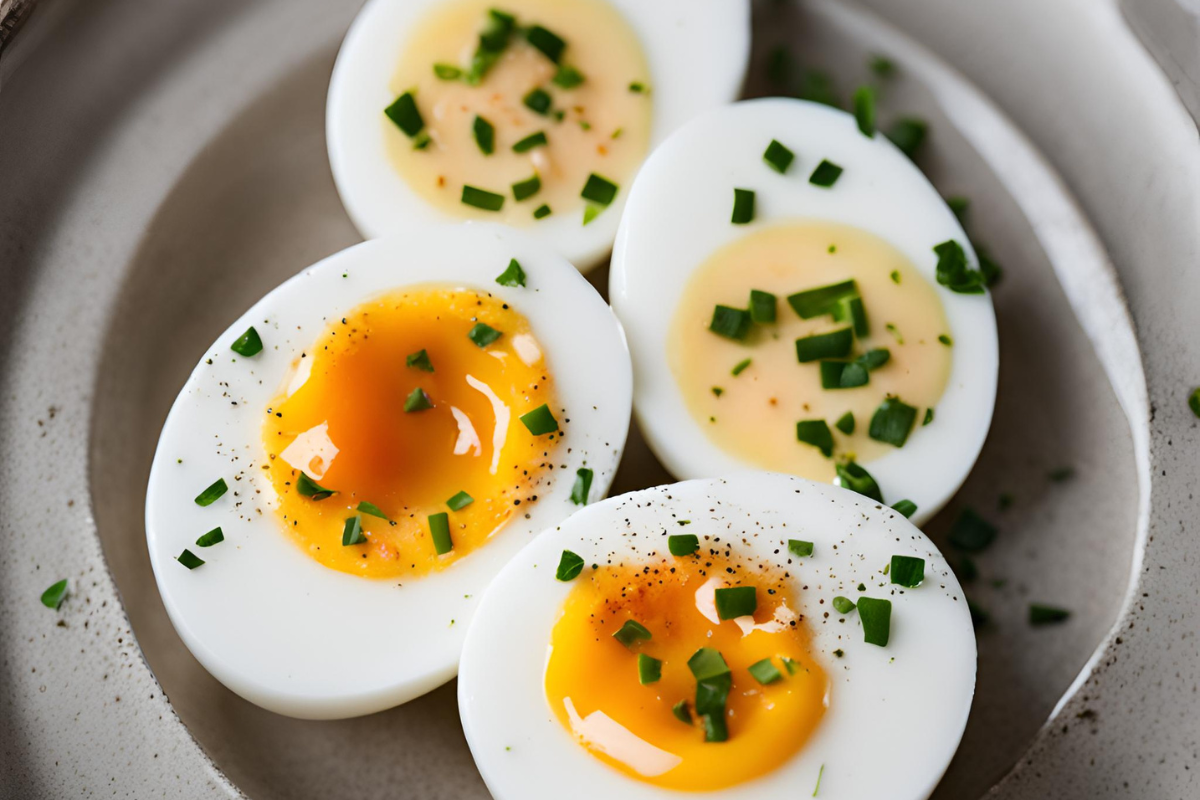
Soft boiled eggs are a staple in many cuisines, cherished for their creamy yolk and firm whites. Mastering the art of making soft boiled eggs can elevate your breakfast game and add a gourmet touch to various dishes. Learn more about various recipes on our homepage.
Ingredients and Tools Needed
To make the perfect soft boiled egg, you will need:
- Fresh eggs
- Water
- Ice cubes (for the ice bath)
Necessary Kitchen Tools
- Medium pot
- Slotted spoon
- Timer
- Bowl for ice bath
For more kitchen tips and tricks, visit our about page.
Selecting the Right Eggs
Choosing the right eggs is crucial for achieving the best results.
- Freshness: Fresher eggs are less likely to have air pockets that cause cracking.
- Size and Type: Large eggs are typically used, but any size can work with adjusted cooking times.
Method 1: Classic Stovetop Method
The stovetop method is a tried-and-true way to achieve perfectly cooked soft boiled eggs.
Step-by-Step Instructions
- Fill a medium pot with water and bring to a gentle simmer.
- Using a slotted spoon, carefully lower the eggs into the water.
- Simmer for exactly 6 minutes for a runny yolk or up to 7 minutes for a slightly firmer yolk.
- Transfer the eggs to an ice bath immediately to stop the cooking process.
Tips for Success
- Maintain a gentle simmer to prevent cracking.
- Use a timer for precise cooking.
Common Mistakes to Avoid
- Boiling too vigorously can cause the eggs to crack.
- Overcooking results in a firm yolk instead of the desired runny consistency.
For more detailed instructions and variations, you can check Perfect Soft Boiled Egg Recipe.
Method 2: Steaming Method
Steaming is another excellent technique for cooking soft boiled eggs.
Step-by-Step Instructions
- Fill a pot with about an inch of water and bring to a boil.
- Place the eggs in a steaming basket over the boiling water.
- Cover and steam for 6 minutes.
- Transfer the eggs to an ice bath.
Benefits of Steaming
- Consistent heat distribution.
- Easier to control cooking time.
Tips for Perfect Results
- Make sure the eggs are in a single layer.
- Use a steaming basket that fits snugly in your pot.
Method 3: Electric Kettle Method
Using an electric kettle is a convenient and quick way to make soft boiled eggs.
Step-by-Step Instructions
- Fill an electric kettle with enough water to cover the eggs.
- Bring the water to a boil.
- Add the eggs and let them sit in the hot water for 6 minutes.
- Transfer to an ice bath immediately.
Advantages and Disadvantages
- Advantages: Quick and requires minimal equipment.
- Disadvantages: Less precise control over temperature.
Method 4: Instant Pot Method
The Instant Pot provides a consistent and foolproof method for making soft boiled eggs.
Step-by-Step Instructions
- Place the trivet in the Instant Pot and add 1 cup of water.
- Place the eggs on the trivet.
- Set the Instant Pot to manual high pressure for 3 minutes.
- Quick release the pressure and transfer the eggs to an ice bath.
Why Use an Instant Pot
- Precision in cooking time.
- Ability to cook multiple eggs at once.
Tips for Perfect Soft Boiled Eggs
- Ensure the eggs are not touching the water directly.
- Use the quick release to prevent overcooking.
Cooling and Peeling the Eggs
After cooking, it’s essential to cool the eggs rapidly.
Importance of Ice Bath
- Stops the cooking process immediately.
- Makes peeling easier.
Tips for Easy Peeling
- Gently tap the egg on a hard surface and roll to crack the shell.
- Peel under running water to help remove stubborn bits of shell.
Serving Suggestions
Soft boiled eggs can be enjoyed in numerous ways.
Traditional Serving Styles
- On toast with a sprinkle of salt and pepper.
- As a topping for ramen or salads.
Creative Serving Ideas
- In a breakfast bowl with avocado and quinoa.
- Sliced over a bed of greens with a vinaigrette.
Troubleshooting Common Problems
Runny Whites
- Solution: Ensure the water is at a gentle simmer and cook for the full recommended time.
Overcooked Yolks
- Solution: Reduce cooking time by 30 seconds.
Cracked Shells
- Solution: Use eggs that are at room temperature to minimize the temperature shock.
Ingredients and Tools Needed
Selecting the Right Eggs
Eggs are a cornerstone of countless recipes, but not all eggs are created equal. To ensure culinary success, it’s essential to choose the right ones. Here’s what you need to know:
Freshness
Freshness is paramount when it comes to eggs. To determine freshness, perform the float test: place the egg in a bowl of water; if it sinks and lies flat, it’s fresh; if it stands upright or floats, it’s best to discard it. Additionally, check the expiration date on the carton for added assurance.
Size and Type of Eggs
Eggs come in various sizes, including small, medium, large, and extra-large. The size you choose depends on your recipe’s requirements, but large eggs are a versatile option for most dishes. Furthermore, consider the type of eggs, whether conventional, organic, free-range, or pasture-raised, based on your preferences for animal welfare and environmental impact.
By prioritizing freshness and selecting the appropriate size and type, you’ll elevate your culinary creations to new heights.
Mastering Culinary Craft: Classic Stovetop Cooking Method
The classic stovetop method is a timeless technique that forms the foundation of countless recipes. Whether you’re sautéing vegetables, searing meats, or simmering sauces, mastering this method will elevate your culinary prowess. Here’s a detailed guide to help you perfect the art of stovetop cooking:
Step-by-step Instructions
- Preparation: Gather all necessary ingredients and equipment before starting. Ensure your stovetop is clean and well-ventilated.
- Heat Control: Place a skillet or saucepan on the burner and adjust the heat to the desired level. For high heat, choose a burner with maximum capacity; for low heat, opt for a smaller burner.
- Oil or Fat: Add oil, butter, or another fat source to the heated pan. Allow it to melt or heat up before adding ingredients.
- Ingredient Addition: Carefully add ingredients to the pan, spreading them out evenly to promote even cooking.
- Monitoring: Keep a close eye on the cooking process, adjusting the heat as needed to prevent burning or undercooking.
- Stirring or Flipping: Stir ingredients occasionally or flip them to ensure even browning and cooking.
- Testing for Doneness: Use a thermometer, fork, or knife to check if ingredients are cooked to your desired level of doneness.
- Final Touches: Once cooked, remove the pan from the heat and add any finishing touches, such as herbs, spices, or sauces.
Tips for Success
- Use a heavy-bottomed pan to ensure even heat distribution.
- Preheat the pan before adding ingredients to promote faster and more consistent cooking.
- Season ingredients with salt and pepper to enhance flavor.
- Avoid overcrowding the pan, which can lead to uneven cooking and steaming instead of browning.
Common Mistakes to Avoid
- Using too much or too little oil, resulting in greasy or dry dishes.
- Failing to adjust the heat as needed, leading to burnt or undercooked food.
- Neglecting to stir or flip ingredients, causing uneven cooking and hot spots in the pan.
By following these step-by-step instructions, incorporating tips for success, and avoiding common pitfalls, you’ll soon master the classic stovetop cooking method and unlock a world of culinary possibilities.
Unveiling Culinary Elegance: The Steaming Method
Steaming is a gentle and health-conscious cooking technique that preserves the natural flavors and nutrients of ingredients. Whether you’re preparing vegetables, seafood, or dumplings, mastering the art of steaming will add a new dimension to your culinary repertoire. Here’s a comprehensive guide to help you harness the power of steam:
Step-by-step Instructions
- Preparation: Begin by selecting fresh ingredients and rinsing them thoroughly under cold water. Trim or chop them as needed for even cooking.
- Equipment Setup: Set up your steaming apparatus, whether it’s a bamboo steamer, metal steaming basket, or electric steamer. Ensure there’s enough water in the pot or reservoir to generate steam throughout the cooking process.
- Water Heating: Bring the water to a gentle simmer over medium heat, ensuring it doesn’t boil vigorously, as this can disrupt the delicate steam environment.
- Ingredient Placement: Arrange the ingredients in a single layer in the steaming basket, ensuring they’re evenly spaced to allow steam to circulate freely.
- Covering: Place the lid on the steamer to trap the steam inside. Avoid lifting the lid unnecessarily, as this can cause fluctuations in temperature and prolong the cooking time.
- Steaming Time: Cook the ingredients according to the recipe or until they’re tender and cooked through. Avoid overcooking, as this can lead to mushy textures and loss of flavor.
- Testing for Doneness: Use a fork or knife to pierce the thickest part of the ingredient. If it’s tender and easily pierced, it’s ready to be served.
Benefits of Steaming
- Retains nutrients: Steaming preserves the vitamins, minerals, and antioxidants present in ingredients, making it a healthy cooking option.
- Preserves flavor: Unlike boiling, which can leach out flavors into the cooking water, steaming helps ingredients retain their natural taste and aroma.
- Versatility: Steaming is suitable for a wide range of ingredients, from vegetables and seafood to grains and dumplings.
Tips for Perfect Results
- Use a timer to ensure precise cooking times and prevent overcooking.
- Season ingredients with herbs, spices, or citrus zest before steaming to enhance flavor.
- Experiment with different combinations of ingredients and seasonings to create unique steamed dishes.
By following these step-by-step instructions, appreciating the benefits of steaming, and incorporating tips for perfect results, you’ll unlock the full potential of this elegant and nutritious cooking method.
FAQs
Soft-boiled eggs are a breakfast classic, offering a luscious, creamy yolk encased in a delicate white. Here’s how to achieve perfection:
How long do you boil for soft eggs?
For soft-boiled eggs with a slightly runny yolk and firm whites, boil them for approximately 4 to 5 minutes.
How do you make soft boiled eggs Jamie Oliver?
Jamie Oliver’s method for soft-boiled eggs involves bringing a pot of water to a gentle boil, carefully adding the eggs using a spoon, and boiling them for around 4 to 5 minutes. Once done, remove the eggs and immediately run them under cold water to stop the cooking process. Serve immediately for the best results.
How to make soft boiled eggs Gordon Ramsay?
Gordon Ramsay’s approach to soft-boiled eggs is similar, emphasizing the importance of timing and temperature control. Bring a pot of water to a gentle boil, add the eggs, and cook for 4 to 5 minutes. After cooking, transfer the eggs to a bowl of ice water to halt the cooking process and ensure a perfectly soft yolk. Peel and serve the eggs with a sprinkle of salt and pepper for added flavor.
How to boil an egg perfectly?
To boil an egg perfectly, start by placing the eggs in a single layer in a saucepan. Cover them with cold water, ensuring there’s at least an inch of water above the eggs. Bring the water to a rolling boil over medium-high heat, then immediately remove the pan from the heat and cover it with a lid. Let the eggs sit in the hot water for the desired time:
- Soft-boiled: 4 to 5 minutes
- Medium-boiled: 6 to 7 minutes
- Hard-boiled: 9 to 11 minutes
Once the eggs reach the desired doneness, transfer them to a bowl of ice water to cool before peeling. This method ensures perfectly cooked eggs with creamy yolks and tender whites every time.
Conclusion
Making the perfect soft boiled egg is a simple yet precise process. By following these methods and tips, you can enjoy perfectly cooked eggs every time. Whether you prefer the classic stovetop method or the convenience of an Instant Pot, soft boiled eggs are a delicious addition to any meal.